

Brew Guides
Get the most out of specialty coffee with these easy tips and recipes
Did you know? Coffee is most easily measured using grams and milliliters.
A few quick tips to start…
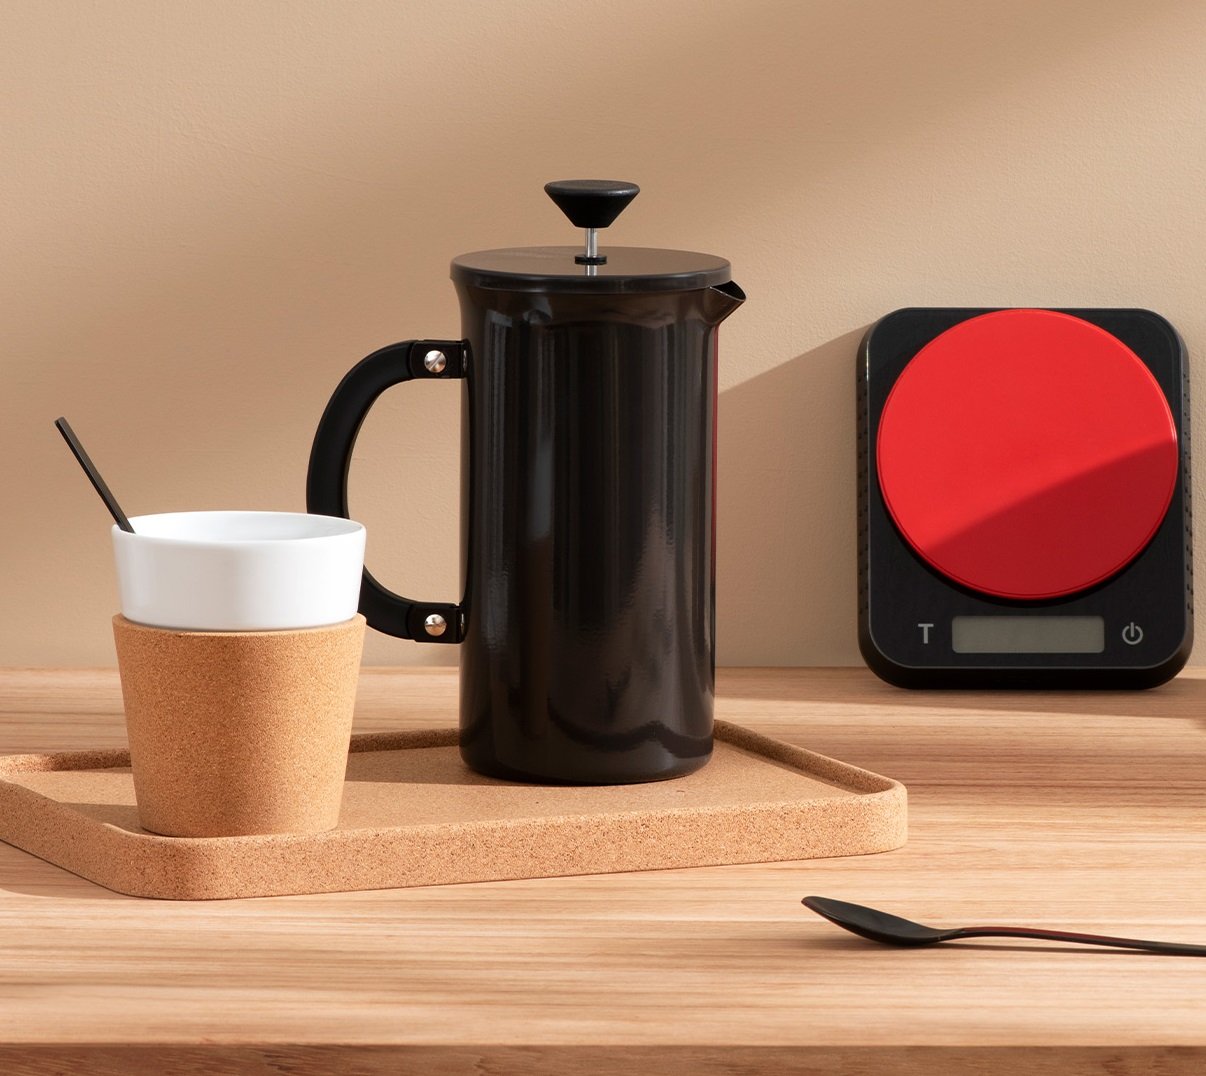
Dosing
Measuring coffee by weight or mass is the best way to get consistent brews because a different coffees have different densties. A small “jeweler’s” scale is a cheap way to accurately measure coffee.
Water
98% of a cup of coffee is water! Water quality has a major effect on the taste of the cup. We prefer water that is at least filtered of chlorine. However, distilled water can negatively affect the flavor.
Grind
Coffee grind size, grind consistency, and fresh grinding all have an effect on the quality of the final cup. It is best to grind whole beans right before the brew, but we can grind to the size needed.
Jump to a section

Filter Brew
Dose: 16 parts water to 1 part coffee by weight (62.5g per liter, 1oz per 16oz water)
Grind: Most electric coffee makers use a traditional medium grind while some may prefer a medium/fine grind for additional extraction.
Brew: What makes an electric coffee maker so popular is the ease of use. There usually aren’t any additional steps other than loading the coffee and water and flipping the on switch.
Extra Tips: A brew can be dialed in using grind and dose. If the brew is a little weak then up the dose and try a little bit finer grind until the brew tastes bitter or astringent, then back off. If it is too strong then lower the dose or try a coarser grind.

Pour Over (Chemex)
Dose: 15 parts water to 1 part coffee (20g per 300ml, 33g per 500ml, roughly 1oz per 16oz water)
Grind: A medium/coarse grind is a good place to start for Chemex.
Time: Roughly 3:00 min
Heat: Heat chosen water quantity to around 200F/93C. If using a stove top kettle then bring to boil and set aside for 20-30s before pouring.
Rinse Filter: Place filter in Chemex and pour heated water to moisten filter. Discard water before adding coffee.
Place Grounds: Insert the appropriate amount of grounds into filter and shake to level the grounds.
Bloom Pour: Set timer. Completely saturate grounds with 1/4 of total water. Wait 30-45s for them to bloom.
Pour 1: At 45s, pour 1/3 of the remaining hot water in a circular motion starting from the center and spiraling outward then back to the center. Try not to pour directly on the filter. This pour should take roughly 45s.
Pour 2: At 1:30. pour another 1/3 in a slightly faster motion. Try to keep the water about an inch from the top of the brew bowl. This pour should take another 45s.
Final Pour: At 2:15, pour the remaining water to slowly clean the edge of the filter to draw the grounds down from the top. The water should draw down completely at around the 3:00 mark.

Pour Over (Hario V60)
Dose: 15 parts water to 1 part coffee (20g per 300ml, 33g per 500ml)
Grind: A medium/coarse grind is great for the active pour style we prefer.
Time: Roughly 3:00 min
Heat: Heat chosen water quantity to around 200F/93C. If using a stove top kettle then bring to boil and set aside for 20-30s before pouring.
Rinse Filter: Place filter in V60 and pour heated water to moisten filter. Discard water before adding coffee.
Place Grounds: Insert the appropriate amount of grounds into filter and shake to level the grounds. Then create a divet in the middle with your finger or a small spoon.
Bloom Pour: Set timer. Starting in the divet and making a circular path outward completely saturate grounds with 60ml/100ml depending on dose quantity. Pour should be finished within 10-20s. Wait for timer to read 45s for coffee to bloom.
Pour 1: At 45s, pour 60ml/100ml of water in a circular motion starting from the center and spiraling outward then back to the center. Try not to pour directly on the filter and try evenly distribute the water over the coffee bed.
Pour 2: At 1:20. pour another 60ml/100ml in a gentle motion. Try to keep the bed even. After the pour is over, gently swirl the V60 to clean the walls and level the bed.
Pour 3: At 2:00. pour another 60ml/100ml in a gentle motion. Try not to disturb the coffee bed.
Final Pour: At 2:40, pour the remaining water evenly onto the coffee bed. The water should draw down completely at around the 3:00-3:15 mark.
Extra Tips: Don’t worry too much about exact times. Start the next pour when the water level almost reveals the coffee bed. Adjust grind size up or down to get the timing closer. Some hard, dense coffees like those from Ethiopia may draw down slower than others. Adjust water temperature hotter for lighter roasts and cooler for darker roasts.
French Press
Dose: 12-13 parts water to 1 part coffee by weight (40g per 500ml)
Grind: French press uses a coarse grind to reduce fines.
Heat: Heat the appropriate amount of water to 200F-202F or 93-94C. If using a stove top kettle then bring to boil and set aside for 20-30s before pouring.
Preheat: Use some of the hot water to preheat the press. Discard.
Prep: Place the appropriate amount of grounds into the press. Pour just enough water to saturate the grounds. Stir and let this bloom for 30 seconds.
Pour: Pour the remaining amount of water into the French press. Give it a gentle stir. Cap the vessel with the press lid. Do not plunge yet.
Steep: Set a timer and let the coffee steep for 4 minutes.
Press: Gently press down on the plunger. There should be firm resistance but not overly strong. It should not feel weak either. A perfect grind will require around 20lbs of downward force.
Serve: Serve or pour the coffee from the French press immediately to stop the brewing process.
Extra Tips: The grind can impact the flavor and texture for French press more so than other forms of brewing because there isn’t a filter paper to catch fine coffee particles. If the brew tastes astringent, grainy, or bitter then a coarser grind may be needed. Typical household blade grinders are not recommended for French press because they create a lot of fine particles.

Aeropress
Dose: 16-18g for a traditional cup of coffee.
Grind: We recommend a fine/medium grind for Aeropress. We have an Aeropress grind option for all of our coffees we offer.
Heat: Heat 300ml or 9oz of water to 200F. 250ml will be used for the brew and 50ml to wash filter.
Prep: Use some extra hot water to presoak the filter and cap. Assemble the clean and dry AeroPress but do not attach filter and black filter cap yet. Invert the Aeropress so that the plunger is facing down and the filter end is facing up. Add grounds and shake to level.
Bloom: Pour enough hot water through the filter end without the filter or cap in place yet to just saturate the grounds. Wait 30s for it to bloom.
Pour: Fill the chamber with hot water. Wait 1:00 minute.
Stir: Use the stir paddle included with the Aeropress or similar object to gently stir the grounds several times.
Press: Add the cap and filter and ensure it is tightly and securely in place. Quickly and smoothly turn the AeroPress over on top of an approved container in one motion. Gently swirl to level the coffee bed. Press firmly down with consistent pressure. The grind has to be right or the pressure needed will be too light or too strong. Our “AeroPress Grind” is just right.
Clean up: Remove the cap and press the puck of coffee out. Fully clean and dry the AeroPress before the next use.
Extra Tips: What makes the Aeropress so popular is how versatile it is. Try changing some of the brew methods above to make the coffee exactly like you want. A long steep, finer grind, hotter water, and larger dose will increase extraction and make a stronger cup. Shorter steep, coarser grind, cooler water, and smaller dose will lower extraction and make for a more mellow cup.

Moka Pot
Dose: No measuring coffee needed here. Fill the basket to the top and level it off with a straight edge. No need to tamp.
Grind: Moka Pot uses a medium/fine grind. Too fine and it will build too much pressure and become bitter.
Heat: We recommend preheating the water that goes into the Moka pot to just off boil so the ground coffee brews faster.
Prep: Place coffee grounds into basket. Pour hot water into the water chamber. Place coffee basket on top of water chamber. Carefully screw the top of the Moka pot onto the water chamber being sure not to contact hot water.
Starting the Brew: Place the Moka pot over heat source and use medium to high heat depending on the source. We are not looking for a strong boil, so be sure to not use too much heat. We recommend preheating an electric glass top range burner while prepping.
During the Brew: Keep the lid open on the Moka pot. Listen for boiling sounds. When boiling sounds are heard gently lower heat. We are looking for creamy liquid to emerge from the spout. It should not have large bubbles or spit out of the top. That means the heat is too high. When coffee emerges, turn down heat again and watch for a steady stream. Once stream ends and air is coming out take the Moka pot off heat. We sometimes run cold water over the water chamber at the end to stop the brewing process.
Serve: Immediately pour into cups. Moka pot coffee is usually quite strong and can be used to make homemade lattes or other milk based drinks.
Extra Tips: A smooth and steady stream is the goal. If the coffee spits or is too bubbly then it could cause for a bitter brew. Glass top electric ranges can be hard to control. We like to let the Moka pot ride half on and half off the burner on glass top stoves as the coffee emerges to quickly slow the brew. Moka pot can take some time to master!

Espresso
We absolutely love espresso! However, entire books are published on properly making espresso. So our guide here is for those that are already familiar with making espresso and is in no way an exhaustive dive into the process. We provide a quick parameter guide on our espresso-focused coffee product pages for those looking for a good place to start.
Dose: Most of our coffees are tested with the 16g-18g range. Traditional Italian espresso tends toward the smaller dose range of 7g-14g while “third wave coffee” in the US has expanded to 18g+. We like the middle ground of 16-18g range because we see the benefit of a thicker puck bringing a more stable extraction while also getting more shots out of a bag of coffee.
Grind: Our “Espresso Grind” is ground to a general espresso range. We highly recommend purchasing a dedicated espresso grinder to have full control over the extraction.
Heat: We recommend 188-190F for our Full City to dark roast coffees and 200-202F for our light roast coffees. Medium would sit right in the middle. Different espresso machines read temperature differently so be sure to get to know your specific equipment.
Puck Prep: We strongly encourage folks that brew espresso at home to use both RDT (a small amount of water sprayed on the whole coffee beans before grinding to reduce static) and WDT (Weiss distribution technique) with a dose funnel to ensure a great foundation for extraction.
Tamp: A level and consistent, firm tamp is all that is needed.
Pulling the Shot: We always weigh our shots to ensure consistent flavor and texture. Place the cup on a small scale under the portafilter and tare. Our machine automatically times the shot, but if this function is not included in the equipment then start a timer as soon as you hit the button or pull the level. Stop the shot once you get to the target weight. Note the amount of time needed to extract the targeted weight for further dial-in.
Ratio vs Time: Time isn’t as important as ratio, dose, and grind. We shouldn’t directly control the time therefore shots should not be ended based on time. They should be ended based on weight. A shot ratio should be the number one thing we look to. Lower ratio (1:1, example 18g of coffee makes 18g of liquid espresso) reduces bitterness but increases sourness. Longer ratios (1:3+) increase bitterness but reduce sourness. We base our ratio on what type of coffee we have. A light coffee tends to be sour so we use a longer ratio. A dark roast tends to be bitter so we use a lower ratio. We adjust the grind finer to lower the ratio and make it coarser to increase the ratio within a certain time frame. We typically want our shot to be 20-40s long with 30s being pretty standard. A traditional shot is 1:2 in 30s, but that is not always the best ratio for every coffee. The amount of time needed to get to the target weight lets us know how to adjust our grind size or our dose going into the next shot. Tastes bitter/harsh and took a lot of time to get to the target weight? Dose lower or grind coarser. The opposite is true for a fast shot that tasted sour.
Extra Tips: Espresso takes a lot of time to fully understand and is arguably the hardest type of brew method for coffee. A typical home barista needs at least a year to start to hit their stride so be sure to give yourself lots of room to learn and try not to get frustrated.

Cold Brew
Dose: 1 part coffee to 8 parts water (125g to 1 liter.) Cold brew uses a lot of coffee, but we will be making a concentrate here that will be strong enough to be cut with water or milk.
Grind: Cold brew uses the coarsest grind possible. We want to reduce the fine coffee particles to get the smoothest extraction possible.
Vessel: A popular cold brew vessel is a French press. While it is nice to be able to use one coffee brewer for both French press and cold brew, we do recommend a filtered cold brew system like a Toddy to maximize the smooth profile of cold brew. The filter ensures all fines are removed from the cold brew during extraction.
Prep: Clean the brew chamber and rinse the filter if using one. Add coffee grounds.
Adding water: Add enough water to fully saturate the grounds. Wait about 30s and then give them a nice stir. We want to make sure all the grounds are being exposed to water. Pour the remainder of the water into the vessel. Give it one more gentle stir.
Brewing Environment and Time: Some folks prefer brewing it in a refrigerator but that is not necessary. As long as the coffee is set in a cool, dark area then that is all that is required. Room temperature brewing doesn’t take quite as long. We shoot for 16-20 hours for our brew times. Making the mixture during lunch means it will be ready for tomorrow morning.
Finish: The last step is separating the brewed coffee from the coffee grounds. In a French press, press evenly and firmly on the plunger but do not pack the ground at the bottom. In a Toddy-like system simply uncork the bottom to let it drain through the filters into a serving carafe. Cold brew will keep for over a week in the refrigerator!
Extra Tips: Since this is a concentrate then it can be cut with water or milk to taste. Cold brew should be smooth and sweet. If the brew is grainy, astringent, or bitter then there are likely too many fines making their way into the coffee. We recommend a filtered brew system to solve this problem.